Sunday, January 11, 2015

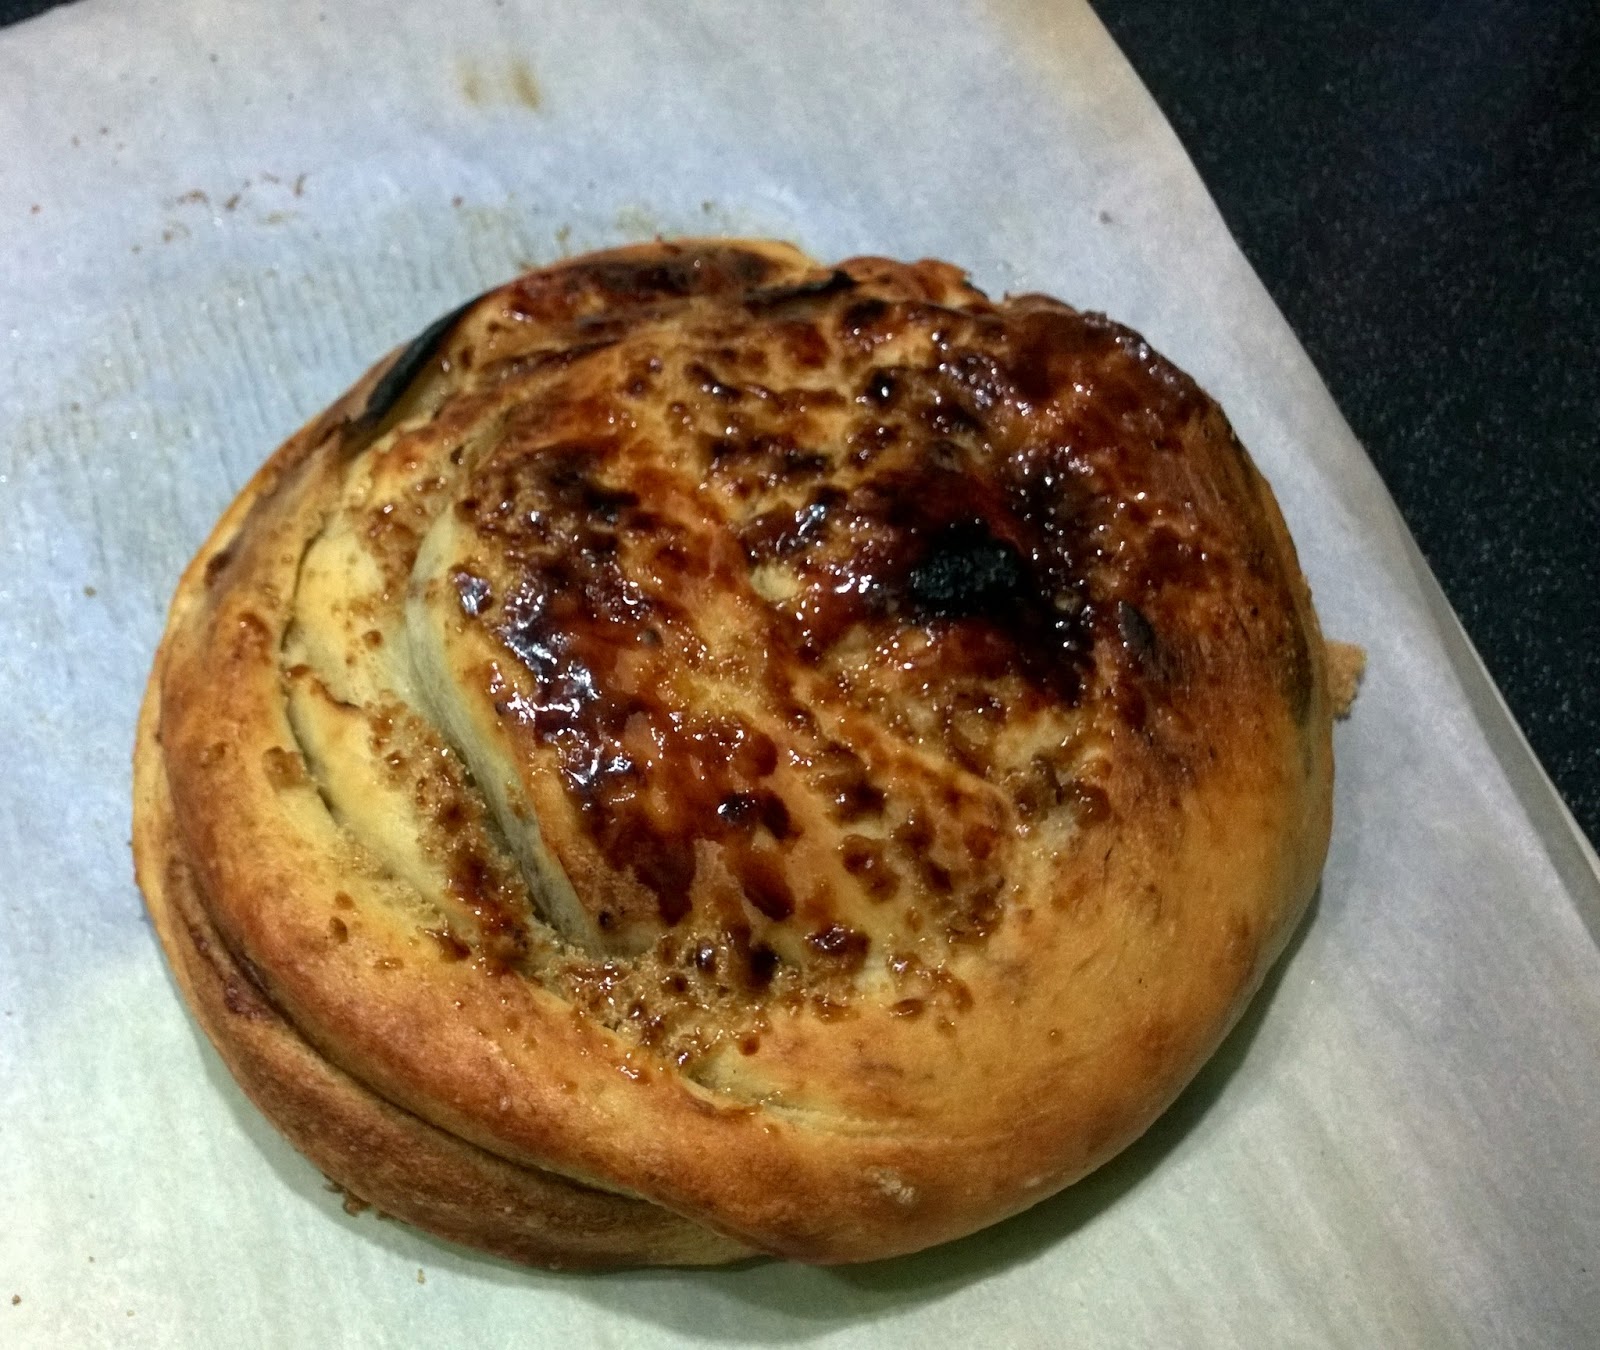
Cinnamon Bing

Have you heard that bing is the newest hippest thing?  Not the search engine (sorry hon, that still isn’t cool), but rather the bread.  I read it somewhere, I think in Bon Appetite, so it must be true.  Alas, living where we do means that we don’t have a lot of the ethnic bakeries around, so no authentic bing for me.  Back to the drawing board of making your own. 

Anyway, bing is a round Chinese bread, layered with endless options of fillings (potatoes, scallions, red beans) and then usually pan fried, but can be baked as well.  I got a hankering for some sesame scallion bread (Zhi Ma Da Bing) the other day to go with our miso ramen soup, (because you know, twice the carbs is better than one) so I tracked down a couple recipes to go from.  I’m pretty confident in my bread making ability – give me a range of ingredients and what the texture of the dough should be like (stiff, soft, sticky, etc) and I can usually hit it.  Honestly, it was easier than I thought. 

After making scallion bread, I wondered about making cinnamon bing.  The best part of a cinnamon roll to me are all the flaky layers wrapped in cinnamon and sugar.  It always bums me out when I end up with just one of the outer layers of a roll.  With a cinnamon bing, you would get all those layers. 

There are a couple cool things about bing bread – first, if you use an oil (and you want to) you get a ton of flaky layers almost as if you had laminated the dough ala croissant style or puff pastry.   Also, the bread doesn’t really have a second proofing and since you can cook it on your stove top, it means that this bread is instant gratification.  The only wait time is the initial proofing.

I have tried making bing both on the stove and in the oven.  The stove is great because both the top and the bottom of the bread gets this browned crispy edge.  Cooking it on the stove does take a little more care the first couple of times – it can brown quickly without cooking the middle.  I still have the maddening cooktop in my new house, and I found that I had to turn the burner down to the very lowest setting and covered the pan with a lid to keep the heat in.   Flipping it can be a bit of a challenge depending on how big the roll is, so you may want a second pair of hands the first time.   If you don’t want to deal with it just pop it in the oven. 
 

Notes on this recipe – I added an egg to this dough, but it is easily omitted.  Add a little more water or a little less flour.  The dough does not have to be an enriched dough, but I like it with this cinnamon recipe.  If you want a more savory bread, like with scallions and sesame seeds, lose the egg and the sugar. 


Cinnamon Bing

Ingredients

 1 envelope Dry yeast (about 21/4 tsp.)
2 tablespoons sugar
1 teaspoon kosher salt
3 cups all-purpose flour (More or less, depending on weather plus more for surface)
1 Egg
1
 cup water (may need a little more or less depending on dough)
1/3 cup Butter melted
1/3 cup Cinnamon - sugar mixture depending on how sweet/cinnamony you want it
Optional:  2 tablespoon Brown sugar for caramelization

Instructions

Dissolve yeast in about 1/2 cup of water to check for viability. Or don't. I know my yeast is good, so I usually skip this step.

Add sugar and egg (if using), salt and about one and a half cups of flour. Stir until well mixed. Gradually continue to add flour until it forms a slightly sticky dough ball. You may need to add less or more - but generally about 3 cups for me. Knead until dough is smooth. Spray with cooking spray, cover and let rise until double, about an hour or so.

How it started (note the paintbrush)
After the dough has risen, clear a large space on your counter, the more the better. I use almost my whole island, but a kitchen table would work too. Sprinkle with flour. Roll out the dough as long and as thin as you can.  You may have to take a couple short breaks to let the gluten loosen up. I estimate that my dough is usually about 1/8 of an inch thick, 3-4 inches wide and about 3-4 feet long. (see pictures).
 
How it ended up


Once you get it as long and as thin as you can without falling on the floor, running out of space or tearing. Brush with melted butter and sprinkle with cinnamon and sugar. Fold the layer over long-ways, pressing lightly so it will stick. You will still have a long piece of dough.
 
Repeat the butter and cinnamon/sugar mixture, and fold over again, pressing lightly. You have a long piece of dough with two layers of butter and cinnamon/sugar in it. Brush the top layer with butter again.
 

On a piece of parchment paper, start to roll the dough like a snail. You want a big, flat, round coil. Press down on the coil to make sure all the layers adhere to each other. It should be flattened. Brush disk with butter.
 

To pan-cook - Make sure the disk is flat! Place unbuttered side in a buttered or sprayed non stick pan that has a lid on low.. I had mine down to the lowest notch on my stove. Cover with the lid. Cook for about 2-3 minutes and check the bread - you don't want it to burn! Once the bread starts to turn a golden brown (about 5 minutes on my stove?) flip the bread. The lid is important - it keeps in the heat - don't try to cook this without a lid. You'll have beautiful golden bread with an uncooked interior.

To bake: Bake at 375 for about 20-25 minutes or until golden brown.


Added bonus: My favorite way to make this bing is to add a caramelized top to the cinnamon bread - sprinkle some brown sugar in your pan or I just use some brown sugar and my blow torch due get a beautiful caramelized top.
Saturday, January 3, 2015

Taquitos


When I was a kid, I used to love getting flautas from the Mexican restaurant down the street.  Corn tortillas, stuffed with meat, wrapped into little cigarette-type rolls, deep fried, usually served with guacamole.  So good.   

After we got married, the husband and I got hooked on the ease of taquitos.  Basically the same thing, but not fried up to order.  Straight from the freezer to the oven.  Taquitos and potstickers became the basis of the infamous “Crap Dinner” we would indulge in about once a month.  Just like it sounds, this meal is rooted in junk food and usually resulted in two days of drinking water to account for the amount of sodium we had ingested.

Taquitos are still one of our favorite easy dinners.  I’ve gotten more and more disappointed in the taquitos that you can buy in the store, especially as I constantly consider the ingredients vs. homemade and the cost of prepared foods vs. making it at home.  I still do a ton of crock pot and make ahead meals due to Little E’s crazy riding schedule.  I was reading Jessica Fisher’s Not Your Mother’s Make-ahead and Freeze cookbook from the library the other day and was inspired by her frozen taquitos recipe.  I hadn’t considered making them at home. 

I hesitate to even claim that I have a recipe for taquitos because I tend to use it as a Use-Up-The-Leftovers food now.  Leftover roasts, chicken, and such all go into the freezer until I have enough to make taquitos although occasionally, I’ll make something specifically for taquitos – like a venison roast.  Drier veggies make good additions – corn, peppers, potatoes, rehydrated or oil cured dried tomatoes.   Cilantro holds up well too.  The only thing we have not really cared for has been cheese – the cheese doesn’t hold up well and melts away long before the frozen taquitos are done.  I just tried some with feta, and it held up a little better, but generally not worth the calories, as far as I was concerned.   In terms of seasonings, again, you don’t want your filling to be too moist – the tortilla will get too wet on reheating and fall apart.  That said, a little barbeque sauce or adobo sauce adds a lot of flavor.

Because frying all the tortillas takes some time and makes the house a little smelly, this is not something I make unless I’m willing to commit the time and energy to make a big batch.  I rarely make just one filling.    I’d say altogether it probably takes me an hour to an hour and a half to make 60+ taquitos (that's two small bags of tortillas), depending on how organized I am.   And just in case you were thinking about skipping the whole frying step – don’t even consider it.  Corn tortillas are difficult to work with, and the pre-frying step will make sure they cook up properly once frozen. 


 Make-Ahead Taquitos with Filling Ideas 
Yields: 8+ Servings

Ingredients
1 cup Oil May need more depending on pan. Not olive oil - you want something with a high heat point
2 bags Corn Tortillas
-- FILLINGS --
-- BBQ Pork --
1 1/2 cup Leftover carnita/roast pork
1/4 cup Finely chopped onions
1 tblspoons Cilantro
1/4 cup Bbq sauce Enough to moisten
-- POTATO CHORIZO --
2 Potatoes
1 Sweet potato
2/3 cup Fresh chorizo (can use Spanish chorizo, use about 1/2 cup, finely diced)
1/2 cup Feta Cheese (if desired)
-- CHICKEN AND BLACK BEAN--
2 cups Cooked, shredded/chopped chicken
1 can (12 oz) Black Beans
1/4 cup Salsa Use just enough to moisten filling - don't want filling to be wet
2/3 cup Frozen corn
-- BEEF or VENISON AND GREEN CHILI --
2 cups Roast Beef or Roast Venison
1 can (small) Green chili
1/2 cup Finely chopped onions
1/2 cup Frozen corn (optional)
Instructions
Prepare desired fillings by mixing ingredients together. If using a sauce (like bbq or salsa), use just enough to make the filling moist, but not wet. Season with salt/pepper/garlic as desired.

Prepare tortillas - using a large skillet, heat about an inch of oil to shimmering. Fry tortillas, 1-2 at a time for about 10-15 seconds on each side. Tortillas should not brown at all. Do not skip this step. Drain on paper towels.

Once tortillas are cool, spread about 2 tablespoons of filling on one edge of a tortilla. Roll up tightly, like a cigarette. Secure with a toothpick. Repeat. (I usually can get 2-3 on a toothpick). Lay out on a cookie sheet to freeze (if you are good, you'll remember to take the toothpicks out when the taquitos are slightly frozen but still flexible enough to remove the toothpick. Otherwise, you can just leave them in and even cook them with them in). Once frozen, package off into smaller bags or vacuum seal.